

Here is a simple way of how to make yogurt! No fancy supplies or equipment needed. I’ve been making yogurt for years and it’s always turned out. When I first started making it I had 2 babies and no oven or stove. So I heated the milk in a 2qt Pyrex bowl in the microwave. Those against microwaves will have a fit. But that’s all I had. For 7 years we didn’t have a stove or oven and I wanted to still feel homemake-y as I became a stay-at-home mom. So I heated the milk in a glass bowl in the microwave, added the culture, then put the whole bowl in a small ice chest/cooler to stay warm over night. And in the morning I had yogurt! If I could do it when I was 22 and had 2 babies, no stove and had no idea what I was doing, you can too!
There are 5 Easy Steps to Make Yogurt
- Heat the milk to scalding
- Let it cool
- Add a scoop of yogurt
- Incubate for 8-12 hours
- Refrigerate
That’s all there is to it!! It may take a bit of practice to know how long each step takes and for you to figure out how you want your yogurt (tangier or sweeter), but once you make it a few times, you’ll be able to do it like second nature.
Step 1 Heat the milk to scalding
I guess technically the first step would be to get the milk! So I go out and milk my cow. I get just under 2 gallons a day so every Tuesday I use that day’s milking for yogurt. Instead of straining it into jars and putting it in the fridge to drink, I just strain it into my Instapot/pressure cooker. (It’s not a real Instapot and not the best quality, but it’s what I use.) It holds 2 gallons, so it’s the perfect size.
So first pour the milk into your Instapot or pot on the stove. Again, I make almost 2 gallons at one time. You may want to just make 1/2 gallon or even less. Decide how much you want, and pour that much milk into your pot. Turn on the heat and heat until the milk is about to boil. This is scalding. It will start to rise and foam up with little bubbles. Stir with a rubber spatula every few minutes and you’ll see it get pretty steamy. If it does boil, it’s fine. I’ve done this plenty and it still works. It may kill some of the awesome properties of raw milk, but the yogurt still turns out. But otherwise, turn off the heat before it boils.

Step 2 Let it cool
This is easy. Turn off the heat and let the milk cool down. A layer of film will accumulate on top. Using the rubber spatula, I carefully push it all to one side and then scoop it out. Then I stir the milk to get it to cool down faster. Cooling takes about an hour. So every 15 minutes or so I will go over and scoop off the film and stir it. Then I stick my pinky in. If I can hold it to 9-10 seconds and then pull it out, it’s the perfect temperature. If I can only hold it in a few seconds, it’s still too hot. But if I can hold it in longer than 10 seconds, then it’s too cool and I waited too long. I’ve done this before plenty of times as I forget about it. So then I heat it again for a few minutes until it’s hot for my pinky to be in for 10 seconds.
I don’t want it to be too cold because it needs to be able to stay warm for 8-12 hours on the counter. On the other hand, if it’s too hot when you add the yogurt, it will kill the yogurt culture and it won’t set.
Step 3 Add yogurt culture
When the milk is cooled to about 110-112 degrees or holding your pinky in for 10 seconds, it’s ready to add the yogurt culture. You can use plain yogurt you buy from the store, but make sure it has no fillers or sugar or anything. Just plain yogurt. Organic is best. Greek is good too. After this batch you can save your own yogurt to use for the next batch and you will never have to buy yogurt again!
With a glass measuring cup, I scoop out about 2-3 cups of milk (or about 1/8-1/10 of the milk.) If you’re only making 32 oz, you’ll only scoop out 1/2 cup. Or even 1/4 is fine. It doesn’t matter. Scoop out some milk in your measuring cup. Then add 1-2 tablespoons of plain yogurt into it and whisk it. For my 3 cups of milk I add probably 1 cup of yogurt. I’m actually a terrible measure-er and just put in what I feel like! After it’s whisked in your measuring cup, add it to the pot of yogurt and whisk gently in figure 8’s to spread it around.
Step 4 Incubate your yogurt for 8-12 hours
I put the lid on my instapot and let it sit on the counter over night, usually from 8pm to 8am. Don’t move it or disturb it. Let it make yogurt for you!
Step 5 Refrigerate
In the morning I take the lid off and shake it over the sink. It is full of condensation and I like my yogurt thick, so I don’t want it to drip into the yogurt. I may also try to pour off a bit of the watery whey on top of the yogurt if there is a lot. Then I put the whole pot into fridge to cool and thicken up more. Every day the kids pull it out for snacks or breakfast. By the next Tuesday it is about gone so I save a cup for my next batch and give the rest to the chickens. The yogurt on the bottom is usually a bit burned because my pot is bad. But the chickens love it and it’s good for them too! Then I make another batch.
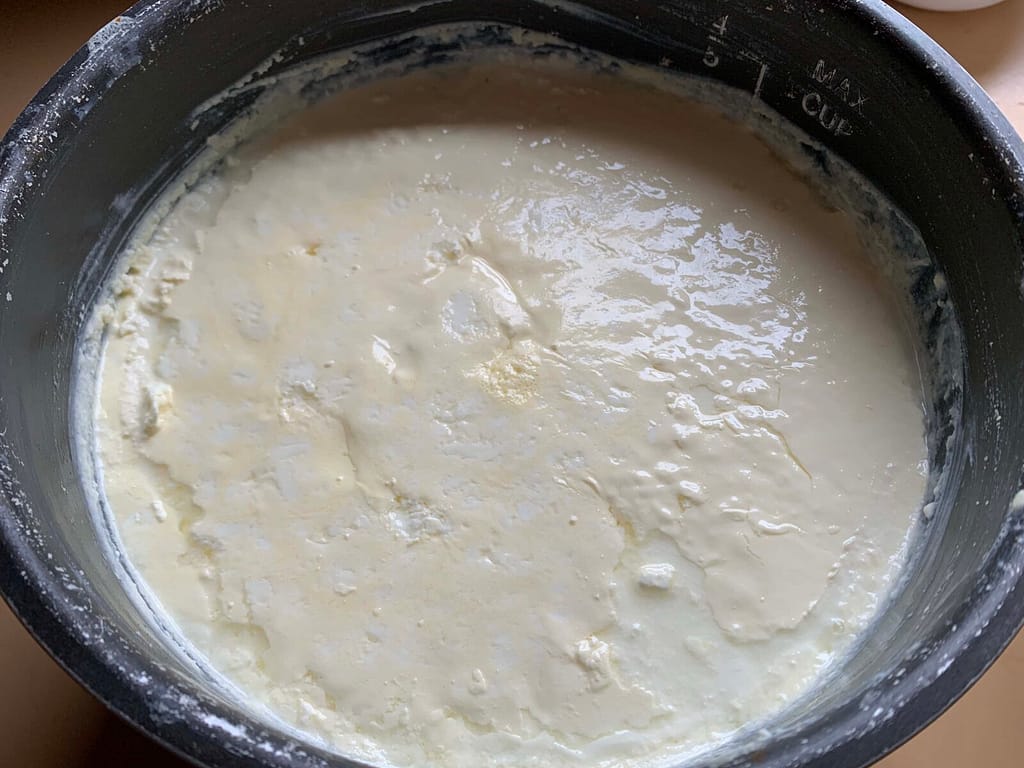
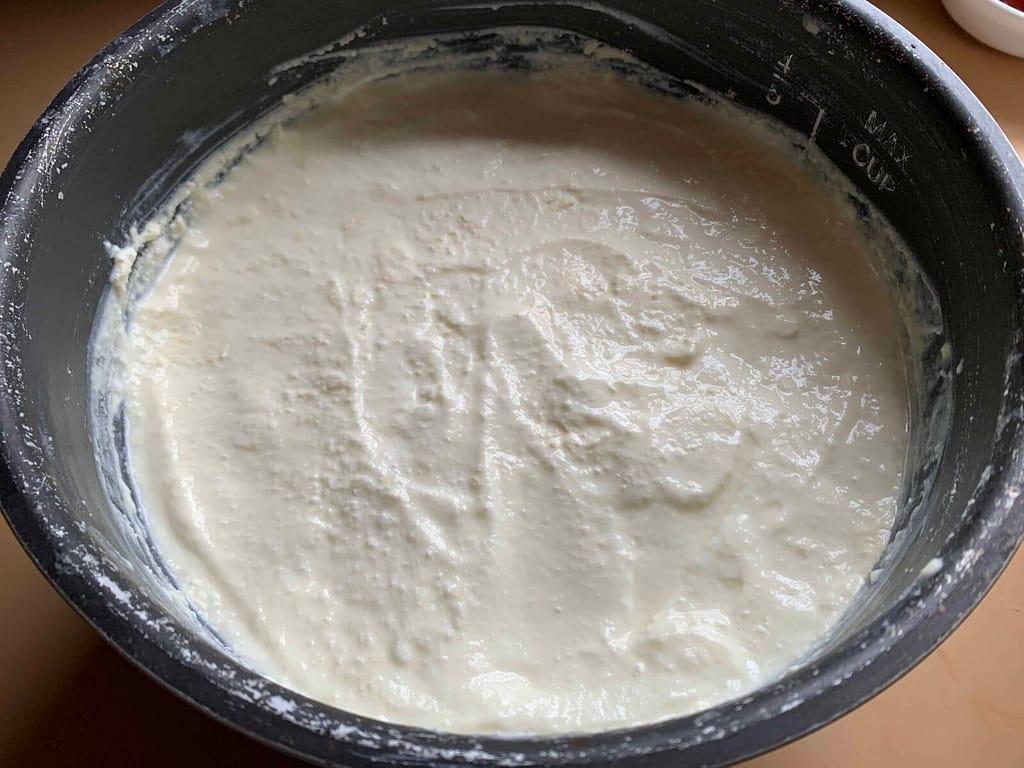
When I first take off the lid, there is a film of cream. (left) That’s normal. I just smooth it out. (right)
Don’t forget the last step: Eat it! And enjoy!
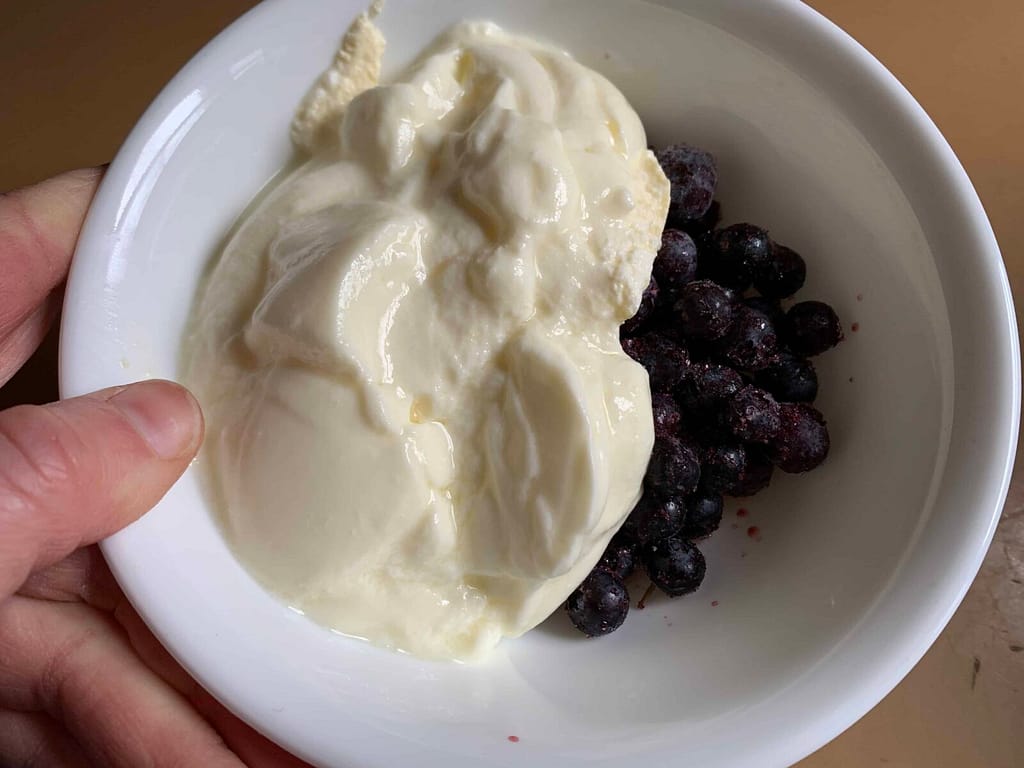
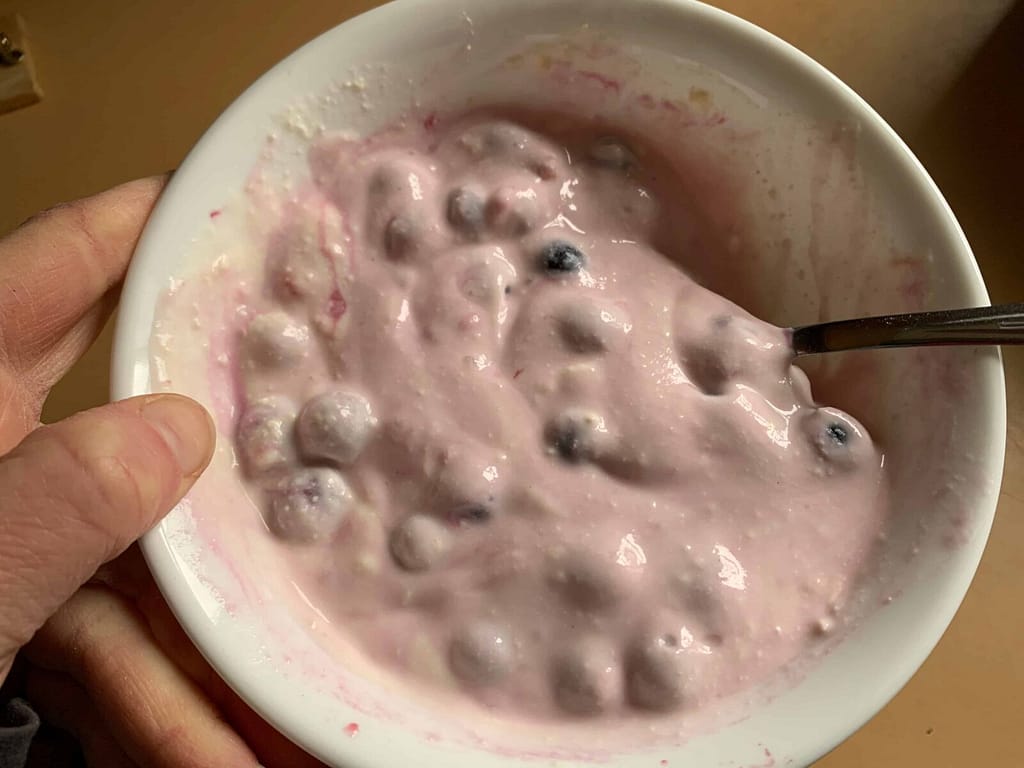
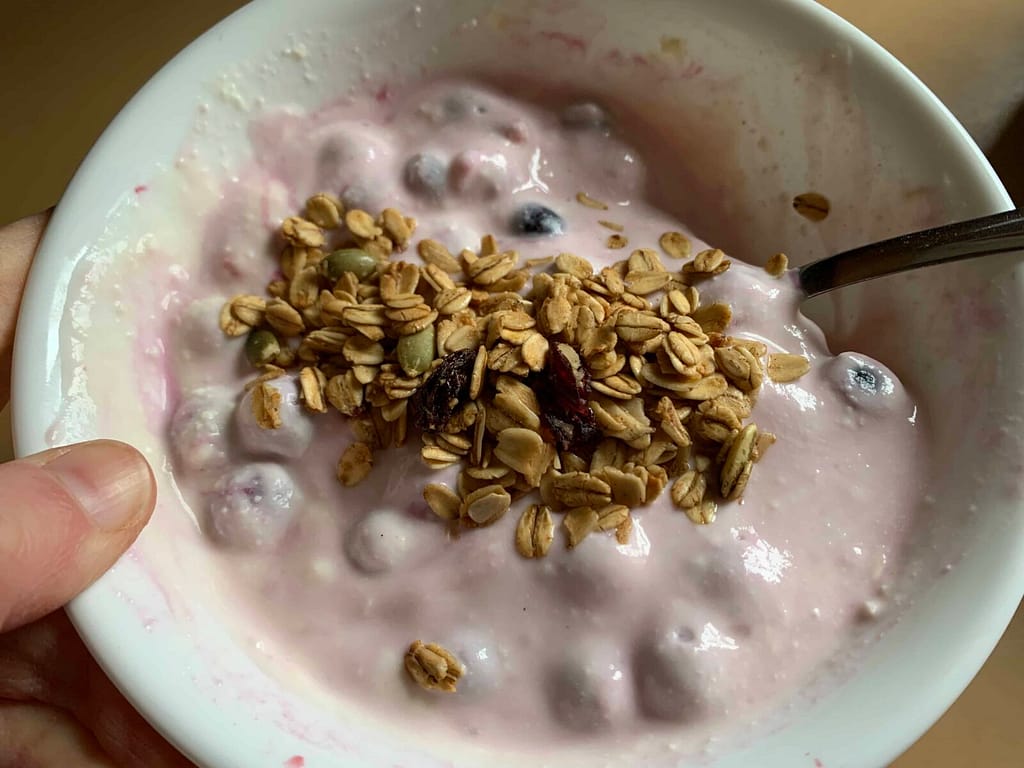
Put frozen blueberries in a bowl. Scoop some yogurt on top of them. Add a tablespoon of organic raw sugar if desired. Stir. Add granola on top. Enjoy it! It’s so creamy and delicious. Especially made with fresh, raw, cow’s milk.
I babysit picky kids occasionally and even they love this. Once I had a 9 year old boy for a few days while his parents were out of town. I took him to church with us, which is long and far away, and we were all starving afterward. Before church I had put a lasagna in the oven on a timer. The car was quiet the long drive home as stomachs growled and I knew my kids were looking forward to the lasagna with hot bread and a salad. When we finally got to my gravel driveway, this little boy broke into the quiet and called out, “I got dibs on the yogurt!” It was so funny. My kids wouldn’t have even thought of yogurt for Sunday dinner. I was super happy, though, that he loved it that much.